
Last updated: October 31, 2026
Quick answer: Most grown-out eyelash extensions can be improved in about 10 minutes by washing, brushing, and trimming only obvious strays before your fill appointment. For How to Fix Grown-Out Eyelash Extensions Before Your Fill, the goal is usually neat, temporary grooming rather than a full rescue mission.
Grown-out eyelash extensions usually need a little grooming, not a full rescue mission. In How to Fix Grown-Out Eyelash Extensions Before Your Fill, the fix is to brush, clean, trim only the obvious outliers if they are truly loose, and hide the awkward shape until your fill appointment.
Key takeaways
- A grown-out set looks uneven because the natural lash has shed and the extension has moved farther from the lash line.
- A careful temporary fix is usually better than pulling, picking, or trying to “reset” the set.
- A lash brush, rounded scissors, and lash shampoo are the main tools for tidying the look at home.
- Trim only an extension that is clearly hanging away from the set or snagging; never cut close to the lid.
- If the set is twisting, stuck together, or irritating the eye, that is a sign to book a fill appointment sooner rather than trying to improvise.
- A bad at-home fix usually costs more later because it can leave the set patchy or damage the natural lashes.
What grown-out eyelash extensions actually need
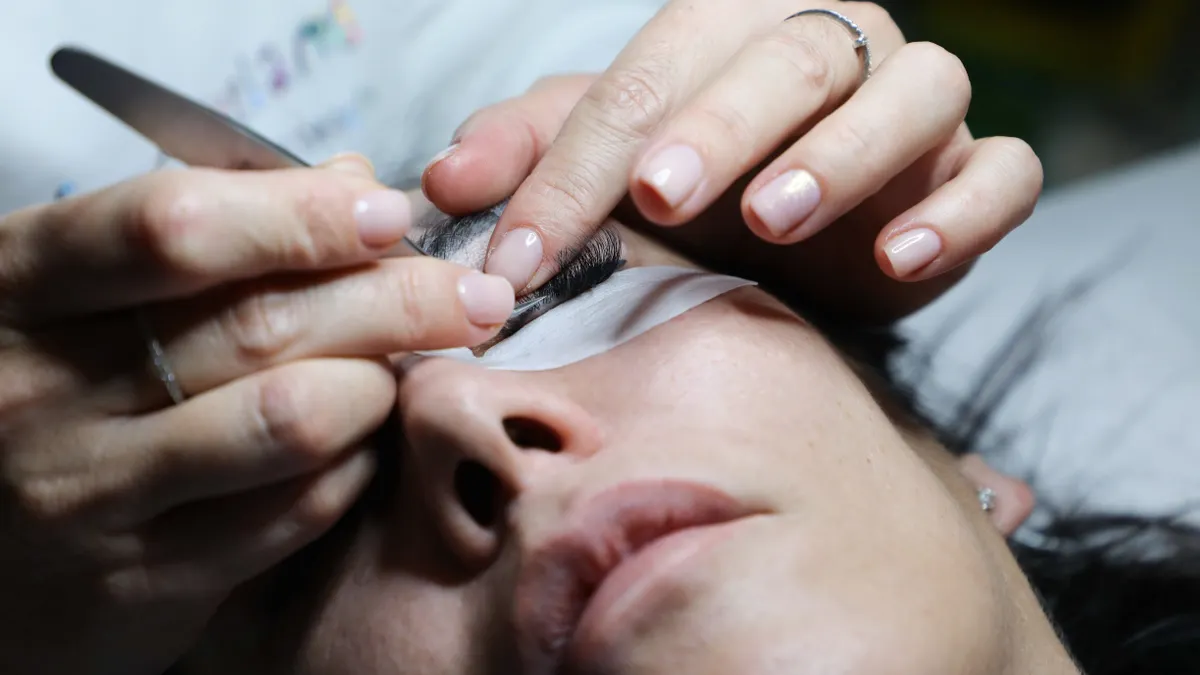
Grown-out eyelash extensions need tidying, not aggressive correction. When a natural lash grows out, the bonded extension sits farther from the lash line and can start to tilt, twist, or catch on neighboring lashes. That is normal. The goal before a fill appointment is to make the set look neat enough to wear for a few more days, or even a couple of weeks, without creating damage.
The most common mistake is trying to “fix” the set by pulling at a few lashes that look off. That can yank on the natural lash and leave a visible gap. Another mistake is using household scissors that are too large or blunt, which makes precise trimming impossible. The right approach is small, controlled grooming.
This matters most if the set is about 2 to 4 weeks old, which is when the extension has usually grown out enough to look uneven. At that point, you are looking for three signs: lashes pointing in different directions, a fuzzy or spiky line, and a few extensions that sit far from the lid. Those are cosmetic issues, not a reason to rip anything off.
This page is for temporary repair and grooming only. If you want the removal side of the topic, the hub on lash extension removal should handle that separately.
How do I fix grown-out eyelash extensions before my fill?
You fix grown-out eyelash extensions by cleansing, brushing, trimming only obvious strays, and disguising the uneven spots until your fill appointment. Start with clean lashes and light hands. The order matters because dirt, dried makeup, and tangles make the set look worse than it is.
1) Wash away buildup first
Use lash shampoo and a clean, soft brush or fingertip to cleanse the lash line, then rinse gently with lukewarm water. Dry by blotting with a lint-free towel or tissue, not by rubbing. When this step works, the base of the set looks less clumped and the direction of each extension is easier to see.
Avoid oily cleansers and heavy face creams near the eyes. They can make the extensions slide, separate, or look greasy in under 1 day. The American Academy of Ophthalmology recommends gentle cleaning for lash extensions to help reduce buildup around the eyes.
2) Let the lashes dry completely
Wait until the lashes are fully dry before doing anything else. That usually takes several minutes, longer if the set is dense. A damp set can look tangled even when it is fine, and trimming wet lashes makes the shape harder to judge.
You know the lashes are ready when they no longer feel cool, look darker from moisture, or clump together at the tips.
3) Brush from the middle to the tips
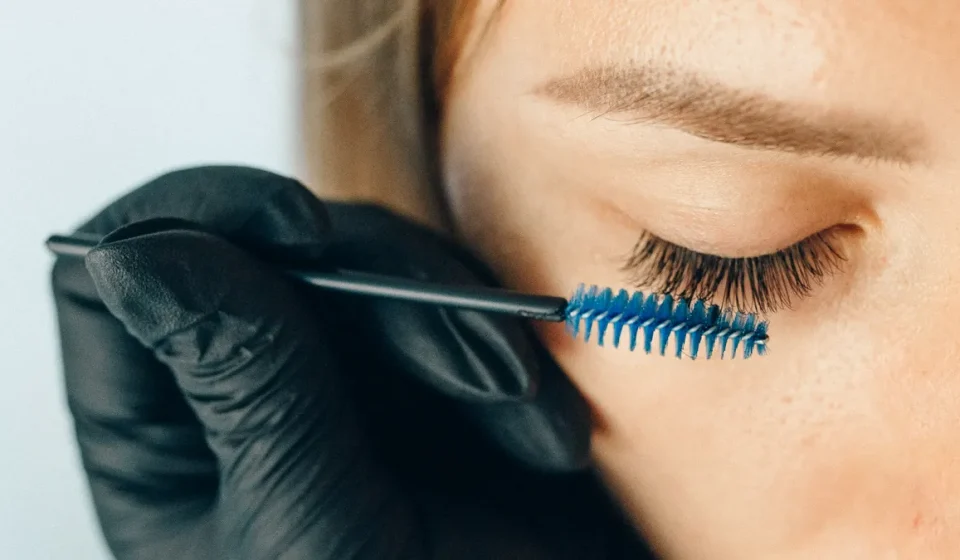
Use a lash brush to lift and separate the extensions, starting at the middle length and moving to the ends. Keep the brush light; the goal is to align the set, not force it straight. Hold the brush under the lashes and roll upward in small motions.
If the grooming worked, the set looks more uniform in less than a minute. You may still see a few long or crooked pieces, but the overall line should look smoother.
4) Trim only the extreme outliers with rounded scissors
If one or two extensions are clearly sticking out, hanging low, or snagging on a brow bone or glasses, trim just the visible tip with rounded scissors. Keep the blade outside the eye area and cut only the end that is obviously off-balance. Round-tipped scissors are the safer choice because they are less likely to poke if your hand shifts.
The cut should be tiny. If you need to remove more than a sliver to improve the look, stop and leave it for your lash tech. Too much trimming can create a blunt, unnatural edge that shows even more in bright light.
5) Spot-fix the shape with brushing, not more cutting
After trimming, brush again to settle the line. Most of the time, one pass of grooming is enough. If the set still looks uneven, the problem is usually growth or loss on one side, not a “bad lash” that needs a more aggressive fix.
This is the point where many people overcorrect. A set that is simply grown out will not look brand-new at home, and that is fine. The aim is tidy, not perfect.
6) Leave the stubborn pieces alone and book the fill appointment
If several extensions are twisted, clumped, or sitting too far from the lash line, stop trying to reshape them. That is usually a fill issue, not a home-fix issue. A fill appointment exists to replace lost extensions and rebalance the set without starting from zero.
A good rule: if the problem is more than 3 or 4 lashes in one area, home grooming usually stops being worth it.
What tools you need before you start
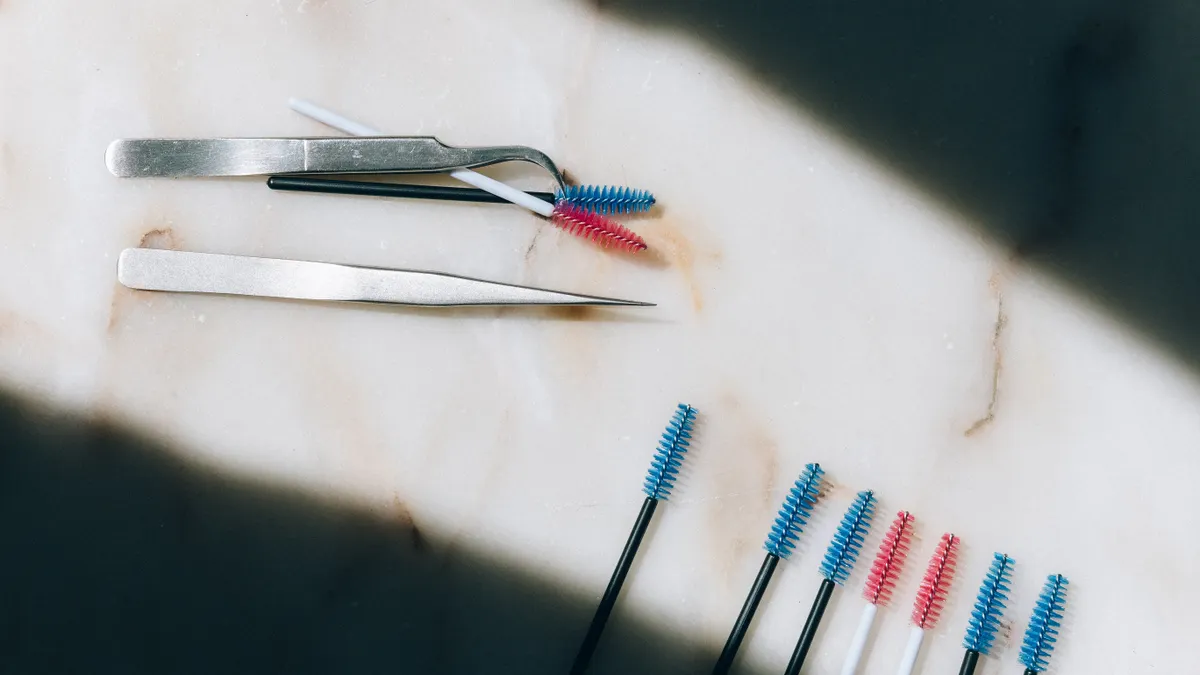
You need a lash brush, rounded scissors, lash shampoo, and a clean towel or tissue before you touch the set. That is enough for most temporary fixes. A spoolie from a makeup kit can work in a pinch, but a clean lash brush is better because the bristles are usually softer and more controlled.
Keep the tools simple. Heavy curlers, tweezers, and adhesive products are the wrong tools for this job. A curler can bend extensions in a way that looks worse after 10 minutes. Tweezers invite pinching and pulling, which is exactly what you do not want near a grown-out set.
If you wear glasses, it helps to fix the lashes in the same lighting and position you use most often in the day. A bathroom mirror at close range shows detail, but a second mirror or phone camera from about 1 to 2 feet away shows whether the overall shape still looks balanced. For step-by-step eye-area hygiene, the American Academy of Ophthalmology and Cleveland Clinic both recommend gentle cleansing over rubbing or picking.
One practical trade-off: trimming can improve a set instantly, but it also removes length that you cannot put back until the fill. That is why trimming is only for obvious strays, not for “evening everything out.”
Temporary camouflage that makes the set look fresher
Temporary camouflage helps when the extensions are grown out but not broken. As a result, the fastest option is usually shape control rather than makeup. Brush the lashes upward, then lightly fan the outer corners and let the inner corners sit softer. That small styling shift can make the set look intentional even when the growth pattern is uneven.
If a few lashes point in odd directions, isolate them with the edge of the lash brush and push them back into the line after they dry. Do not saturate them with mascara. Mascara on extensions often leaves clumps that are harder to clean out and can shorten the life of the set.
If you need to hide a sparse area for a day or two, place your eyeliner slightly closer to the lash line, but keep it thin. A thick line can make the growth gap more obvious once the lashes move. A soft brown or black liner is easier to wear than a dense, glossy block of color.
This is also the place where the wrong fix shows up fast. Anything oily, sticky, or heavy can collapse the set within hours. If your makeup habit is a full smoky eye and a lot of cream texture, that approach is not a good match for extensions that are already past their best shape.
When a grown-out set is no longer a home fix
A grown-out set is no longer a home fix when the extensions are poking, twisting, or sitting so far from the lid that grooming cannot make them wearable. At that point, the issue is not just appearance; the lashes can catch on clothing, sleep mask fabric, or the eyelid itself.
Look for these signs before you keep trimming:
- Several extensions are crossing over each other in one cluster.
- More than a few lashes are angled downward into the eye area.
- The set looks patchy on one side after brushing.
- You feel scratching, tugging, or repeated irritation.
- The extensions are so grown out that the base looks heavy and untidy even after cleansing.
Those are the moments to stop at temporary camouflage and move on to a fill appointment. Trying to force the set into place usually creates more visible gaps and more uneven texture.
This is not the same as full removal. If the extensions are uncomfortable because they are badly retained or you are unsure what is attached to what, the safer path is to have a professional handle it. The separate guide to lash extension removal covers that route, not this one.
A bad home job usually looks obvious in bright daylight and close-up photos. The fix is to keep the intervention small. If the lash line still looks tidy from arm’s length, the repair has done its job.
What a good fix looks like at the mirror
A good fix looks like a clean lash line, fewer stray points, and no obvious cut marks. The extensions may still be grown out, but they should sit more uniformly and stop snagging. If you can brush through the set in about 30 seconds without seeing a knotty patch, you have usually done enough.
Because the mirror can make small flaws look bigger, check the set in the same lighting you use most often, then glance again from a normal viewing distance. Do not expect the set to look full again without a fill. Grown-out extensions often need replacing, not styling, to look complete. That is why a temporary repair has a ceiling: it can improve wearability, but it cannot restore density that is already gone.
A common sign of success is that the lashes look acceptable from normal conversation distance, which is roughly 2 to 3 feet away. If you need macro-level perfection under bright vanity lights, the fix has probably reached its limit.
Ultimately, the best long-term choice is to keep the repair conservative, make it look neat, and stop before you damage the natural lash or create a blunt edge that will bother you more tomorrow.
Can grown-out lash extensions be trimmed?
Yes, grown-out lash extensions can be trimmed if the extension is clearly hanging away from the set or snagging, but only with rounded scissors and only at the visible tip. Trimming is a last-mile grooming step, not a way to reshape the whole set. If more than a tiny amount needs to come off, leave it for your fill appointment.
How do you hide awkward lash growth?
You hide awkward lash growth by brushing the set, cleaning away buildup, and using light styling to smooth the line. A lash brush and a clean lash shampoo routine help the most. Thin eyeliner can camouflage small gaps, but thick makeup usually makes the uneven growth more noticeable.
Should you pull off grown-out lash extensions?
No, you should not pull off grown-out lash extensions. Pulling can remove the natural lash with it, leave a bald spot, and make the next fill look patchy. If an extension is loose, twisted, or irritating the eye, stop at grooming and let a professional handle the next step.
Drafted with AI; not yet reviewed by a person.